Skip to content
Ever stared at a drill bit and wondered what its wear patterns are trying to tell you?
Drill bit wear patterns like flank wear, chipping, crater wear, button wear, edge wear, and gauge wear reveal essential details about operational conditions. Recognizing these patterns helps fine-tune your approach, boosting efficiency and extending tool life.
I remember the first time I had to deal with a worn-out drill bit; it felt like deciphering a puzzle. Each pattern was a clue, pointing to different issues or mishaps in the drilling process. Over time, I've learned that understanding these signs isn't just about fixing problems—it's about optimizing performance. For those of us in industries like mining or construction, this knowledge becomes second nature. By diving deeper into each pattern, we can adjust our techniques or choose better-suited tools, making our operations smoother and more cost-effective. Let's explore these wear signs to make informed decisions and avoid unnecessary headaches.
Flank wear is the most common drill bit wear pattern.True
Flank wear occurs due to friction, indicating normal tool degradation.
Crater wear is caused by chemical reactions during drilling.True
Crater wear results from high temperatures and chemical interactions with materials.
How Does Flank Wear Affect Drill Bit Performance?
Ever wondered how that seemingly minor wear on your drill bit could impact its performance? Dive into the world of flank wear and discover its surprising effects!
Flank wear reduces drill bit performance by dulling cutting edges, increasing friction, and generating heat. This leads to higher energy usage and potential tool failure if unaddressed.
What is Flank Wear?
I remember the first time I noticed flank wear on one of my drill bits—it was during a particularly demanding project. Flank wear happens on the side of the drill bit, especially along those crucial cutting edges. It's the result of friction between the bit and the material being drilled. While it's a normal part of tool use, like when I overused my favorite kitchen knife until it was as dull as dishwater, it becomes a real problem when it goes beyond acceptable limits. For industries like mining and construction, keeping an eye on wear patterns1 is vital for maintaining productivity.
Impact on Cutting Efficiency
As flank wear worsens, it dulls the cutting edges of the drill bit—kind of like trying to cut a tomato with a butter knife. The bit struggles to penetrate material effectively, needing more force and upping the risk of tool failure2. Excessive wear leads to increased friction, which raises operational temperatures and can further degrade the tool.
Example Table: Effects of Flank Wear
| Flank Wear Level | Impact on Efficiency |
|---|---|
| Minimal | Slight reduction in speed |
| Moderate | Noticeable decline in precision |
| Severe | Significant tool degradation |
Implications for Energy Consumption
I once ignored flank wear during a drilling job, thinking a little extra force wouldn't hurt. Boy, was I wrong. The friction from flank wear leads to increased energy consumption during operations, akin to driving a car with the handbrake on. More energy is needed to maintain the desired penetration rate3, which can significantly raise operational costs. This is particularly true in energy-hungry sectors like oil drilling.
Effects on Tool Longevity
Drill bits with high flank wear levels are like running shoes with worn-out soles—they’re bound to fail prematurely. This means frequent replacements, affecting maintenance schedules4 and increasing downtime. For businesses relying on consistent operations, understanding this aspect of flank wear is crucial for cost management.
Monitoring and Managing Flank Wear
To avoid the pitfalls I’ve experienced, proactive monitoring of drill bit wear patterns can mitigate the negative effects of flank wear. Implementing regular inspection routines and using advanced materials designed to resist wear can extend tool life. Industries often employ specific strategies to manage tool wear5, ensuring optimal performance and longevity.
Flank wear increases drill bit energy consumption.True
Increased friction from flank wear requires more energy for drilling.
Minimal flank wear significantly degrades tool performance.False
Minimal wear only slightly reduces speed, not overall performance.
What Causes Chipping in Drill Bits and How Can It Be Prevented?
Ever found yourself in the middle of a project, only to have your drill bit chip and ruin your flow? It’s frustrating, right? Let’s dive into why this happens and how we can stop it.
Drill bit chipping happens when too much force, the wrong angle, or an unsuitable bit type meets the material. To prevent it, choose the correct bit, keep it sharp, and apply consistent pressure while drilling.
Common Causes of Chipping in Drill Bits
-
Excessive Force:
- I remember the first time I pressed down too hard on a drill. It was like watching a slow-motion disaster as chips flew everywhere. When we apply too much pressure, it stresses the drill bit, leading to chipping.
- Prevention: I've learned that maintaining moderate and even pressure throughout the drilling process is key.
-
Improper Angle:
- Picture this: I was drilling a hole for a shelf, but the angle was off. The bit wobbled and chipped. Drilling at the wrong angle can cause uneven stress distribution.
- Prevention: These days, I make sure the drill bit is perfectly aligned with the material.
-
Wrong Bit Type for Material:
- Once, I tried using a wood bit on metal. Bad idea! The wear and chipping were almost immediate.
- Prevention: Now, I always select the appropriate drill bit type6 for my material.
| Material Type | Recommended Bit |
|---|---|
| Wood | Brad Point Bit |
| Metal | Cobalt Bit |
| Masonry | Carbide Tip |
Tips for Preventing Drill Bit Chipping
-
Regular Maintenance:
- Keeping bits sharp reduces wear and stress. I use sharpening tools to maintain edge7 and prolong their life.
-
Appropriate Drill Speed:
- Fast speeds can overheat and weaken bits. Adjusting speed according to material hardness has saved me more than once.
-
Cooling Techniques:
- Overheating is a silent killer for drill bits. Using cooling methods like water or oil to reduce heat8 has been a game changer.
-
Consistent Pressure Application:
- I used to think more pressure was better, but avoiding sudden changes in pressure helps keep things smooth.
-
Inspect for Wear Patterns:
- Regular checks for signs of wear or damage have become part of my routine. I replace bits showing significant wear9 before they fail entirely.
By understanding these factors and employing preventive measures, I've managed to extend the lifespan of my drill bits significantly. Evaluating my practices and making necessary adjustments has helped me avoid future issues with chipping, ensuring my projects run smoothly.
Excessive force causes drill bit chipping.True
Applying too much pressure stresses the drill bit, causing chipping.
Using a wood bit on metal prevents chipping.False
A wood bit on metal wears quickly, leading to chipping.
Why is crater wear a concern in drilling operations?
Ever wondered why your drill bits seem to wear out faster than expected?
Crater wear is when the surface of a drill bit gets worn down due to high temperatures and abrasive materials, leading to less efficient cutting, increased wear, and poorer drilling performance if not managed properly.
Understanding Crater Wear
Crater wear occurs on the rake face of a drill bit, forming depressions or craters typically due to high temperatures10 and abrasive wear. You know that feeling when something just doesn’t work as efficiently as it used to? That’s crater wear for you, sneaking up on the rake face of a drill bit. It’s like those stubborn potholes on your daily commute, only these form from high temperatures and abrasive wear on the bit. In my experience, ignoring this can cut tool life short and wreak havoc on efficiency, forcing premature tool swaps.
Impact on Drilling Efficiency
When crater wear sets in, the cutting edge becomes less effective. This leads to increased friction, heat generation, and eventually, tool failure. I remember a project where everything was going smoothly until our tools started failing. Crater wear had taken its toll, leaving the cutting edge dull and ineffective. The friction and heat went through the roof, leading to an unexpected halt in operations.
| Impact | Description |
|---|---|
| Reduced Cutting Efficiency | Loss of sharpness in the drill bit due to crater formation |
| Increased Heat | More energy required to cut through materials |
| Higher Costs | Frequent tool replacements11 and downtime |
It was a costly lesson in the importance of proactive tool management.
Diagnosing Crater Wear
To avoid these setbacks, operators can diagnose crater wear by regularly inspecting drill bits. Look for those tell-tale depressions near the cutting edges. Additionally, monitoring operational parameters like cutting speed and cooling systems can help identify potential causes.
Strategies to Mitigate Crater Wear
Over time, I’ve found that tweaking cutting speeds, boosting coolant systems, or opting for tougher materials can make a world of difference. These tweaks have saved me a fortune by extending tool life and upping operational efficiency.
To mitigate crater wear:
- Adjust cutting speeds.
- Enhance coolant systems.
- Switch to more wear-resistant materials.
Implementing best practices in monitoring and maintenance can significantly reduce the incidence of crater wear. Plus, sharing best practices with the team ensures everyone’s on the same page when it comes to minimizing crater wear.
Crater wear is caused by high temperatures.True
Crater wear forms due to high temperatures and abrasive wear on drill bits.
Regular inspection of drill bits prevents crater wear.False
Inspection helps diagnose, not prevent, crater wear; adjustments are needed.
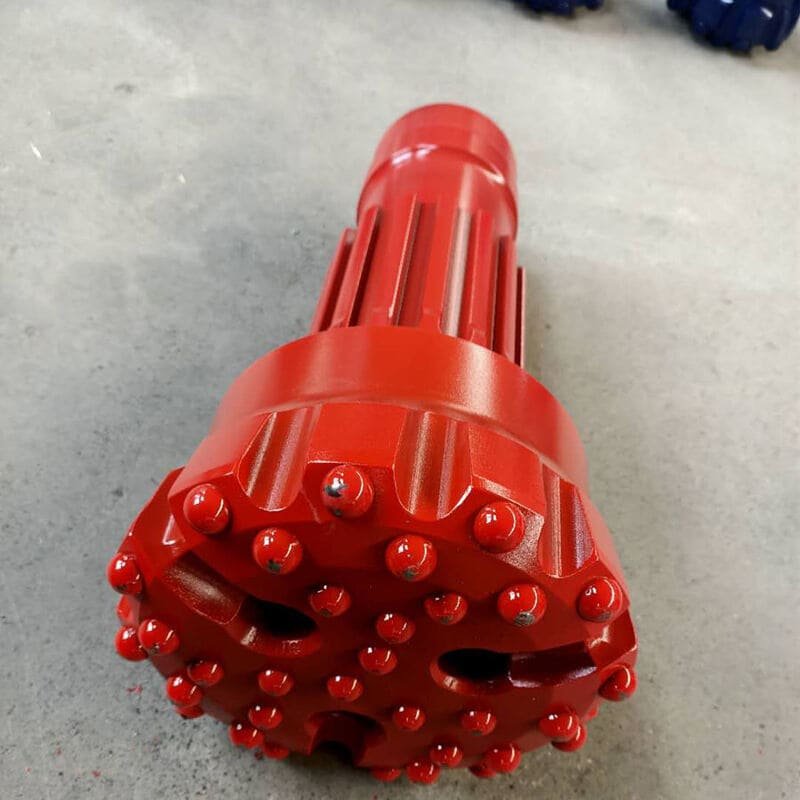
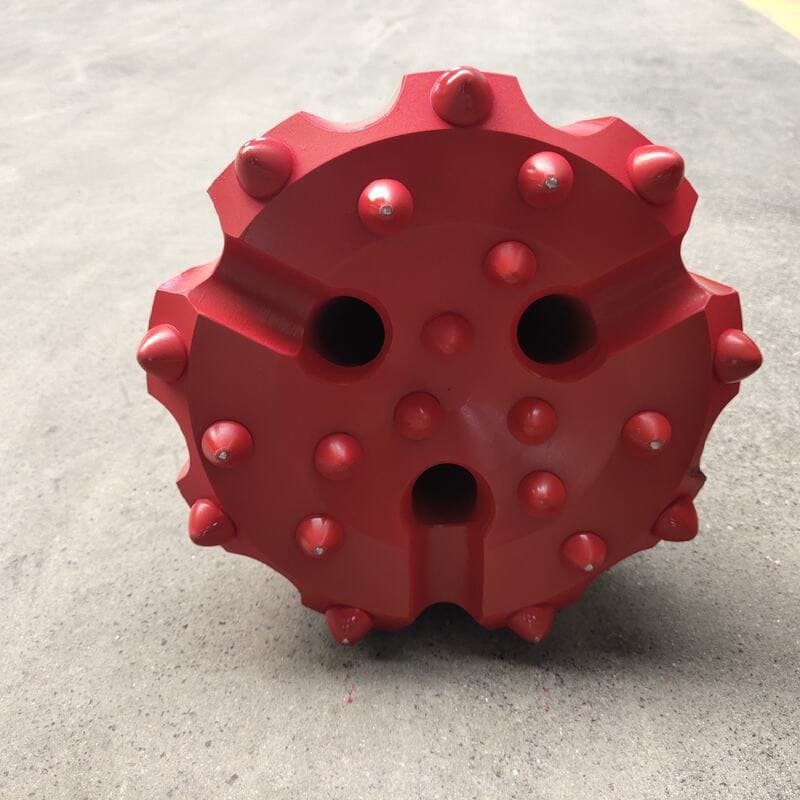
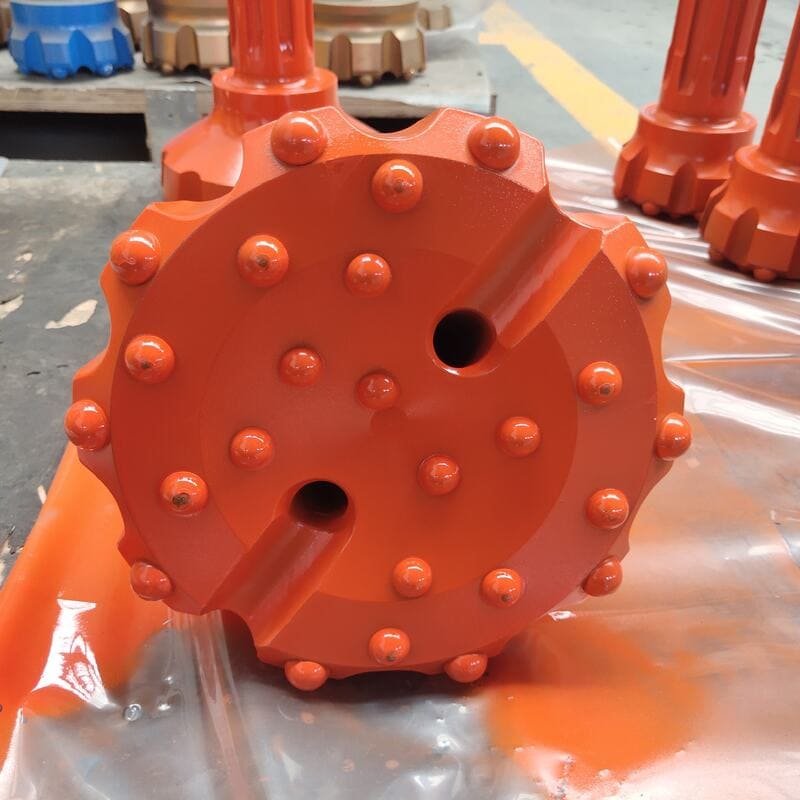
Ever wonder what those little wear marks on your drill bit buttons are trying to tell you?
Button wear reveals whether a drill bit suits the rock type it's used on. Uneven or excessive wear may suggest misalignment, poor bit choice, or suboptimal drilling conditions.
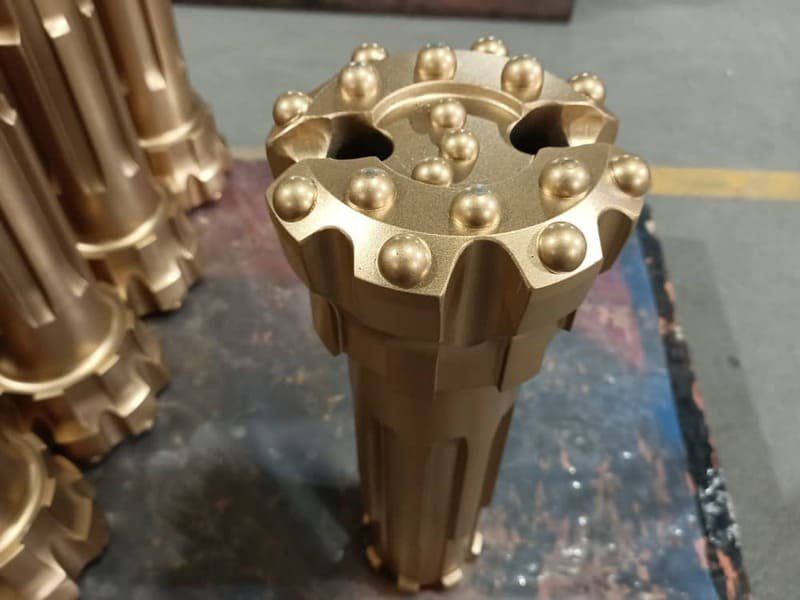
Understanding Button Wear Patterns
You know, I've spent countless hours staring at drill bits, trying to decipher what those tiny wear patterns mean. It’s like reading tea leaves for us drill enthusiasts! Over time, I've learned that understanding button wear is crucial for getting the most out of your equipment.
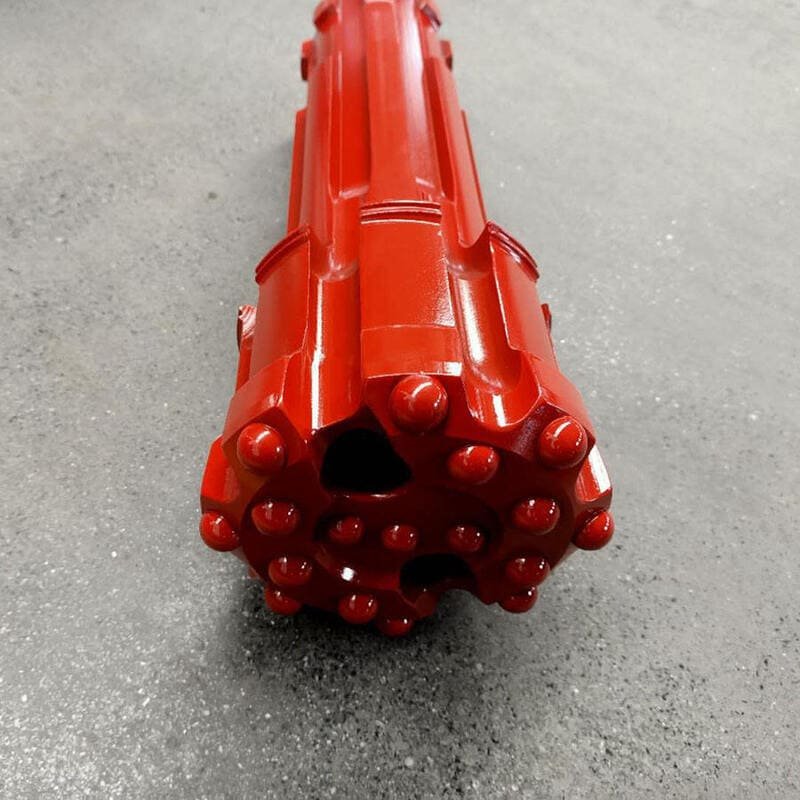
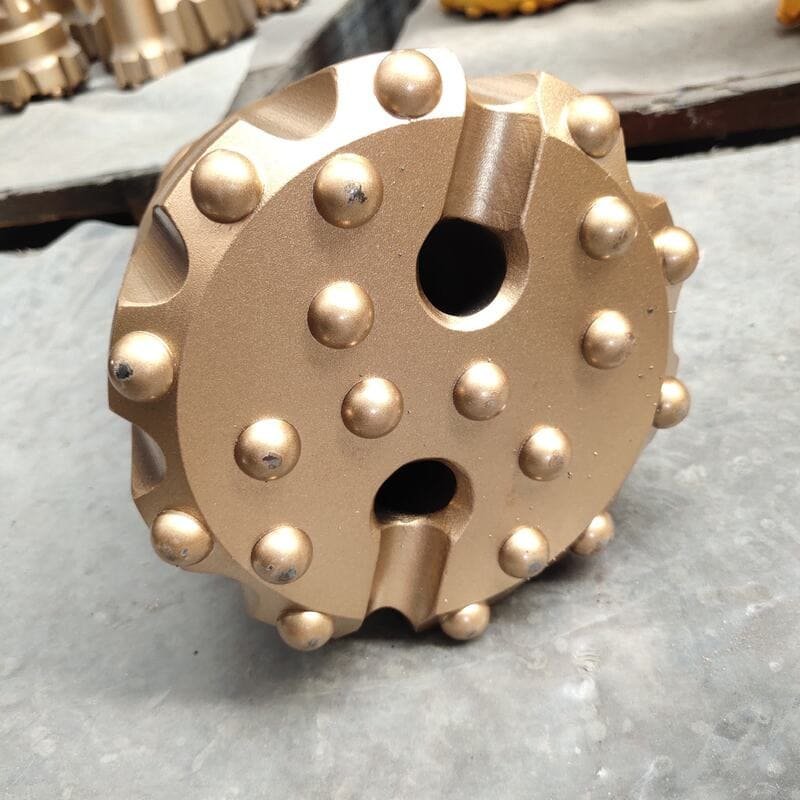
In DTH and top hammer drill bits, the carbide buttons bear the brunt of the action. Here's what I've noticed:
- Normal Wear: When buttons gradually flatten over time, it’s a comforting sign that everything's working as it should.
- Excessive Wear: Once, I had a project where the buttons wore out faster than my patience at a traffic light. It turned out the rock was harder than expected, and my bit wasn't up to the challenge, leading to higher costs and frustration.
- Uneven Wear: This can be a real head-scratcher. In one instance, uneven wear was traced back to a slight misalignment in the drill setup. It was like trying to cut bread with a crooked knife — inefficient and messy.
Factors Influencing Button Wear
Several factors can accelerate or decelerate button wear, and learning about them has been an eye-opener:
| Factor | Description |
|---|---|
| Bit Alignment | Proper alignment is like having your car’s wheels balanced — it ensures everything runs smoothly and evenly. |
| Rock Hardness | Harder formations increase wear rate, necessitating tougher bit materials. |
| Drilling Speed | Higher speeds can exacerbate wear if not matched with appropriate cooling. |
Improving Drill Bit Suitability
From my experiences, here are some tips that have helped me optimize button wear:
- Choose Appropriate Material: Picking the right bit material for the job is half the battle. I’ve found that durable materials tailored to specific geological conditions make a world of difference.
- Adjust Drilling Parameters: Tweaking speed, thrust, and rotation based on wear patterns has saved me both time and money.
- Regular Maintenance: Like checking oil in a car, routine inspections catch early signs of improper wear before they become major issues.
If you're looking to dig deeper into selecting appropriate drill bits12 or understanding the impact of bit alignment13, there’s plenty more to explore. These practices not only extend equipment life but also keep operations efficient and cost-effective.
Uneven button wear suggests drill misalignment.True
Uneven wear indicates improper force distribution, often due to misalignment.
Normal wear means the bit material is unsuitable.False
Normal wear is expected and indicates the bit is functioning properly.
How Does Edge Wear Affect Drilling Efficiency?
Ever wondered why your drill bits seem to wear out too quickly and what that means for your projects?
Edge wear impacts drilling efficiency by dulling the bit's cutting edges, increasing friction and energy use. This slows down drilling and raises costs due to frequent replacements.
Understanding Edge Wear
I remember the first time I noticed my drill bits losing their edge—it was during a big project where every second counted. Edge wear happens when those sharp cutting edges become rounded, often due to constant abrasion against tough materials or not using the right rotation speed. This quickly turns your once-efficient tool into a sluggish and costly liability.
Effects on Drilling Speed
As I struggled with slower penetration rates, it became clear how worn edges make drilling harder. More force is needed to push through, and I had to rethink timelines when working on mining operations14. Those delays can really mess with productivity.
Increased Energy Consumption
With every dull bit, my equipment seemed to strain more than it should. The increased friction demanded more energy, jacking up operational costs. In industries like oil drilling15, this means more fuel use and maintenance hassles.
Impact on Tool Life
Edge wear doesn't just slow you down; it eats away at your tools faster than you can say "replacement." I've seen how this affects sectors like construction16, where downtime for tool changes is not just annoying—it's expensive.
| Wear Pattern | Impact |
|---|---|
| Flank Wear | Reduces precision |
| Chipping | Indicates material inadequacy |
| Crater Wear | Suggests cooling issues |
Keeping tabs on wear and doing regular maintenance has become my go-to strategy to prevent these setbacks. Embracing advanced drilling technologies17 helps me keep my tools in top shape, optimizing performance and extending their life span. It's all about smart management and staying ahead of the game.
Edge wear increases drilling speed.False
Edge wear reduces drilling speed by requiring more force to penetrate materials.
Worn drill bits consume more energy.True
Increased friction from worn edges demands more energy to maintain speed.
What are the consequences of excessive gauge wear on drill bits?
Ever wondered why your drill bits aren't lasting as long as they should? The wear and tear on your tools can sneak up on you, leading to costly repairs and downtime.
Excessive gauge wear on drill bits leads to under-gauge holes, causing operational inefficiencies. This increases torque, energy consumption, and risks equipment damage, raising maintenance costs and affecting drilling performance.
Impact on Borehole Integrity
I remember the first time I faced the repercussions of ignoring gauge wear on my drill bits. It was a routine job that quickly spiraled into a costly lesson. The wear had gone unnoticed until the borehole we were working on turned out under-gauge, throwing off the entire operation.
Excessive gauge wear results in the formation of under-gauge holes, which affects borehole integrity. Such deviations from the expected diameter can complicate subsequent operations, such as casing or completion, especially in oil wells. The irregularities might lead to increased torque and drag18, making it difficult for downhole tools to pass through.
Increased Energy and Costs
Running those worn-out bits required more energy. I could literally feel the drill straining, consuming more fuel than usual. This friction not only escalated operational costs19 but also shortened the lifespan of my other tools. It was an expensive cycle I didn't want to repeat.
Drill bits with excessive gauge wear often require more energy to operate effectively, which leads to higher fuel or electricity consumption. Additionally, the increased friction between the worn bit and the rock surface results in higher operational costs. This not only affects cost efficiency but also shortens the lifespan of other equipment.
Potential Equipment Damage
The excessive gauge wear put a strain on my rigs, leading to mechanical failures that could have been avoided. The vibration and heat were signs I missed until it was too late, resulting in drilling equipment failure20. I had to face costly repairs and replacements, which was not fun.
The strain placed on drilling rigs due to excessive gauge wear can lead to mechanical failures. The increased vibration and heat generated can cause significant damage to drill strings and rigs. In extreme cases, this may result in drilling equipment failure, necessitating expensive repairs or replacements.
Maintenance Challenges
Regular maintenance became a nightmare with unexpected repairs. It wasn't just about the costs; it was the operational downtime that hit hardest. I learned to embrace predictive maintenance techniques21, which allowed me to anticipate wear issues before they became problems.
Regular maintenance schedules can be disrupted by unplanned repairs due to excessive gauge wear. This not only increases maintenance costs but also results in operational downtimes. These disruptions can be mitigated by implementing predictive maintenance techniques, allowing operators to anticipate and address wear issues before they escalate.
| Impact | Consequence |
|---|---|
| Borehole Integrity | Under-gauge holes |
| Energy Consumption | Higher operational costs |
| Equipment Damage | Increased vibration |
| Maintenance | Unplanned repairs |
Excessive gauge wear affects borehole integrity.True
Under-gauge holes complicate operations, affecting borehole integrity.
Gauge wear reduces energy consumption in drilling.False
Excessive wear increases friction, raising energy consumption.
Conclusion
Understanding drill bit wear patterns—flank, chipping, crater, button, edge, and gauge—helps optimize performance, extend tool life, and reduce operational costs in drilling applications.
-
Explore techniques for monitoring drill bit wear to maintain efficiency and extend tool life. ↩
-
Understand common causes of drill bit failure due to excessive wear. ↩
-
Learn how to optimize penetration rates amidst tool wear challenges. ↩
-
Find guidelines for creating effective maintenance schedules for drilling tools. ↩
-
Discover strategies to manage tool wear effectively in industrial applications. ↩
-
Discover which drill bits are suited for specific materials to prevent unnecessary wear. ↩
-
Learn effective techniques for keeping drill bits sharp, prolonging their life. ↩
-
Explore ways to keep drill bits cool during use to prevent damage. ↩
-
Find out how to spot and address early signs of drill bit wear. ↩
-
Understanding how high temperatures impact drilling can help prevent crater wear and extend tool life. ↩
-
Exploring cost implications aids in realizing financial impacts and finding strategies to reduce expenses. ↩
-
Discover which drill bits are best suited for various rock formations, helping you choose the most efficient option for your needs. ↩
-
Learn how proper alignment affects drill bit performance and longevity, ensuring optimal operational efficiency. ↩
-
Explore how edge wear affects drilling speed and productivity in mining operations. ↩
-
Understand how worn drill bits contribute to higher energy consumption in the oil industry. ↩
-
Learn about the financial impact of frequent drill bit replacements in construction. ↩
-
Discover technologies that help minimize edge wear and improve drill bit longevity. ↩
-
Learn about the challenges posed by increased torque and drag on drilling operations. ↩
-
Explore strategies for minimizing costs associated with drilling operations. ↩
-
Understand the factors that lead to equipment failure in drilling. ↩
-
Discover techniques to predict and manage wear in drill bits effectively. ↩